
Butter Mochi • Just One Cookbook

Bring home a taste of Hawaii with this oh-so-delicious Butter Mochi! Made with coconut milk and mochiko (glutinous rice flour), this classic Hawaiian sweet treat will have everyone drooling. You’ll love the chewy, buttery texture and tropical flavor of this dessert that’s part Japanese mochi and part local coconut cake. It’s so simple to make and perfect for your next potluck party or family get-together.
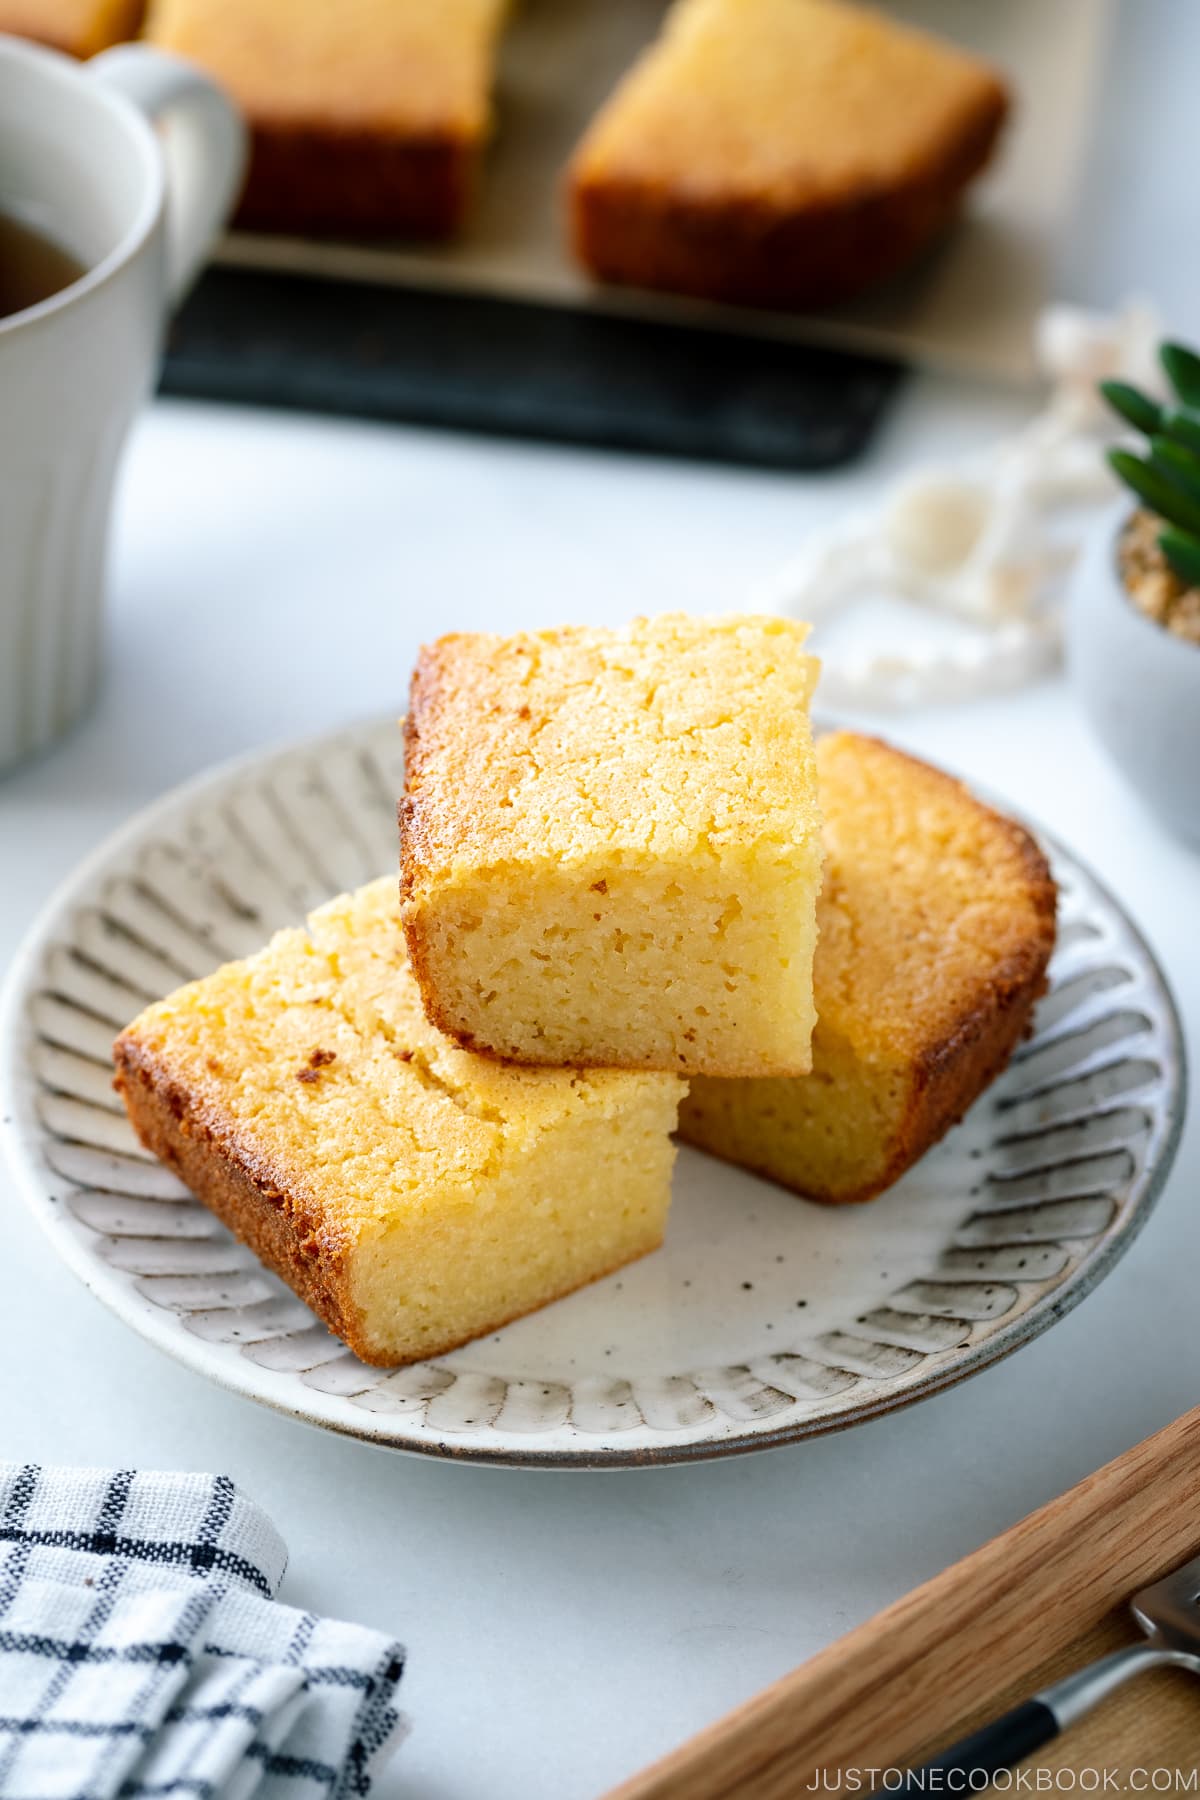
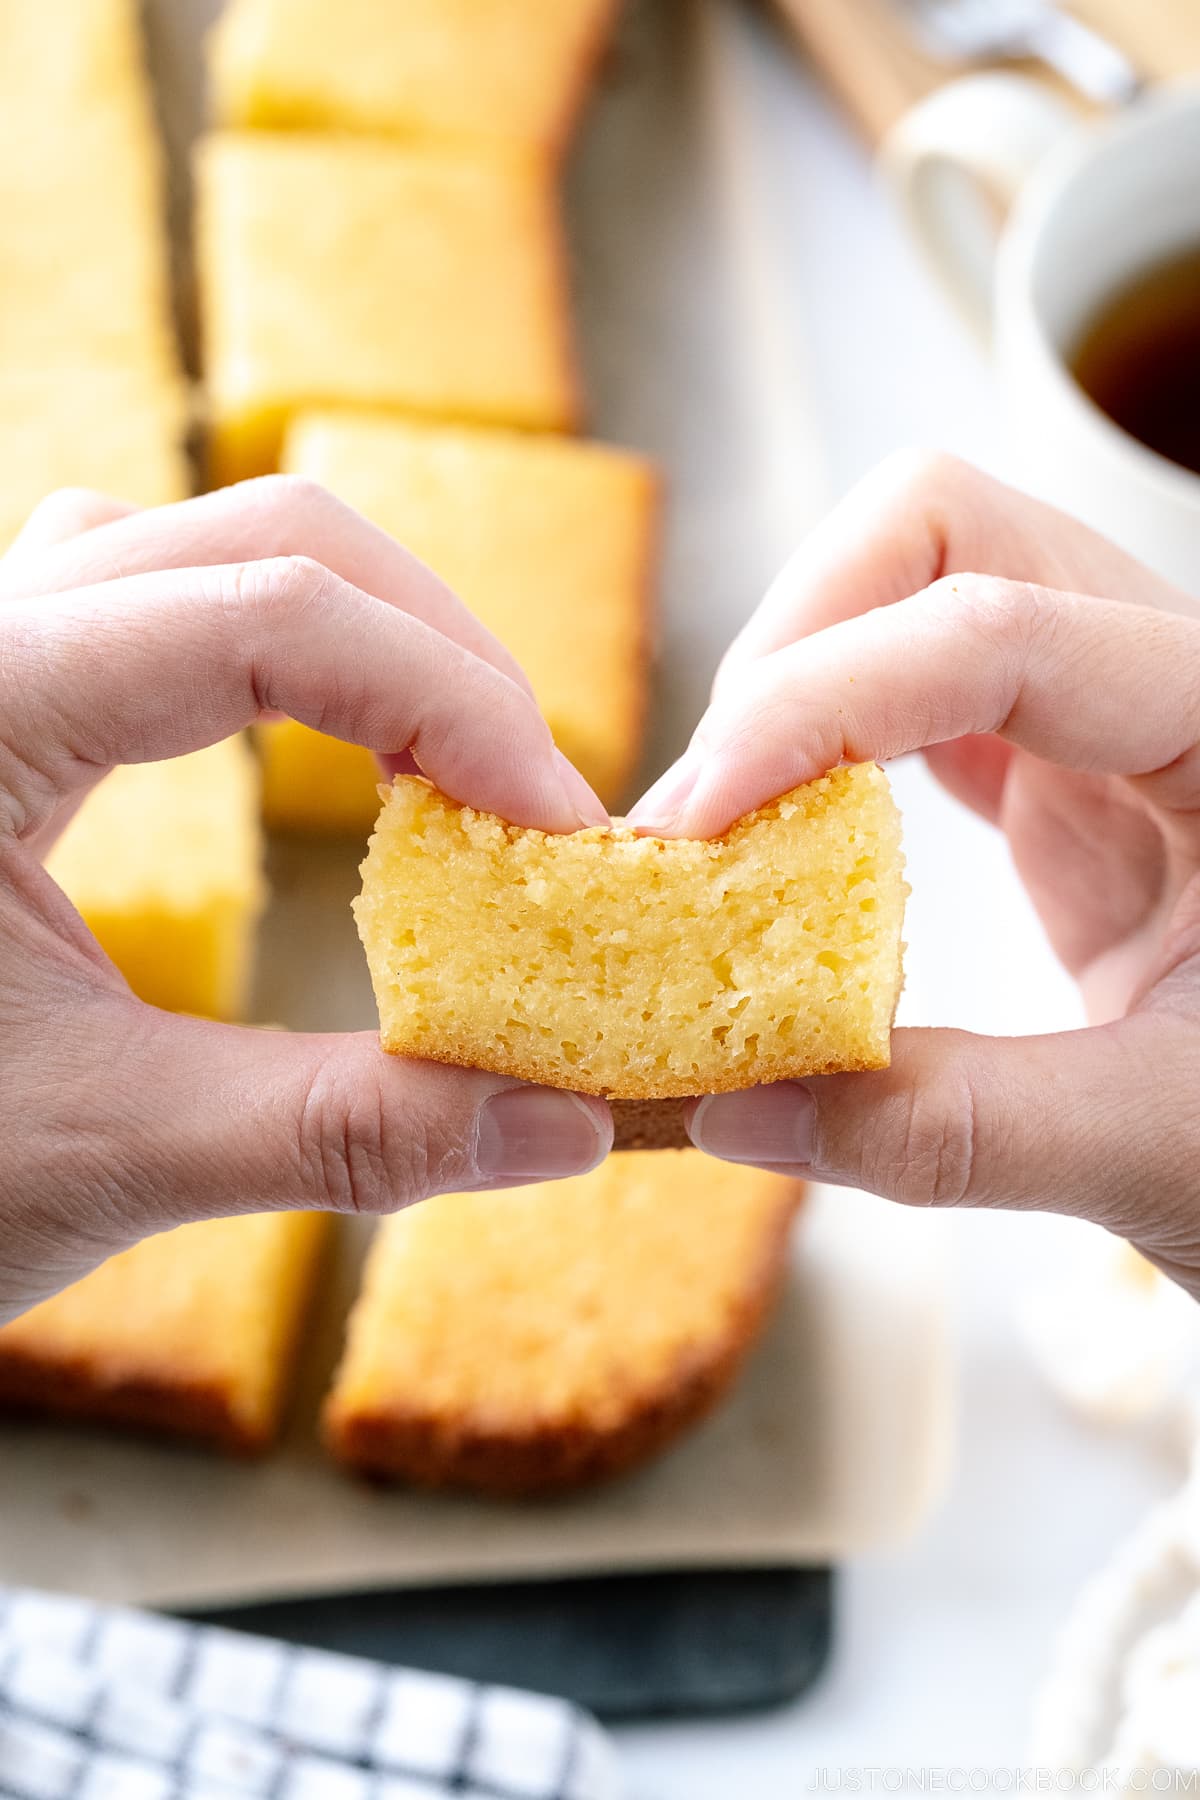
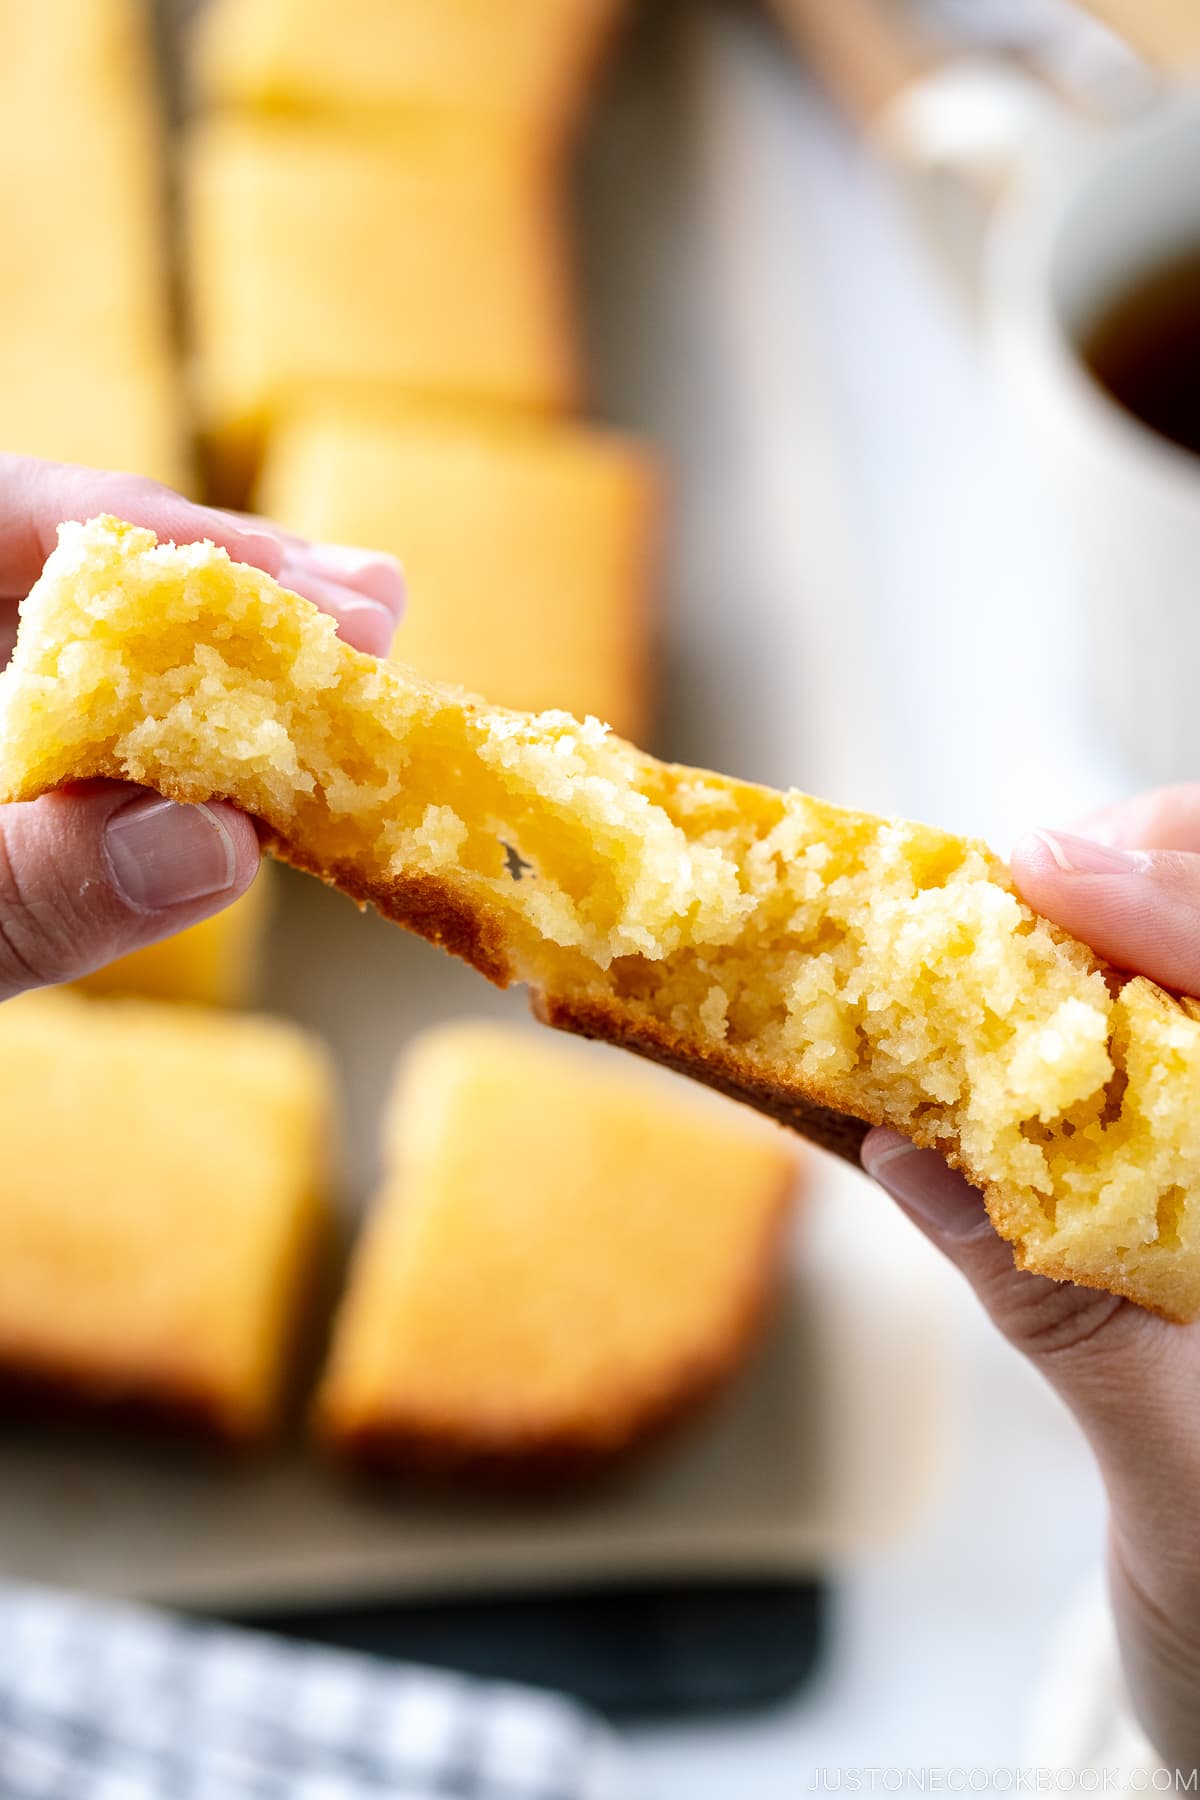
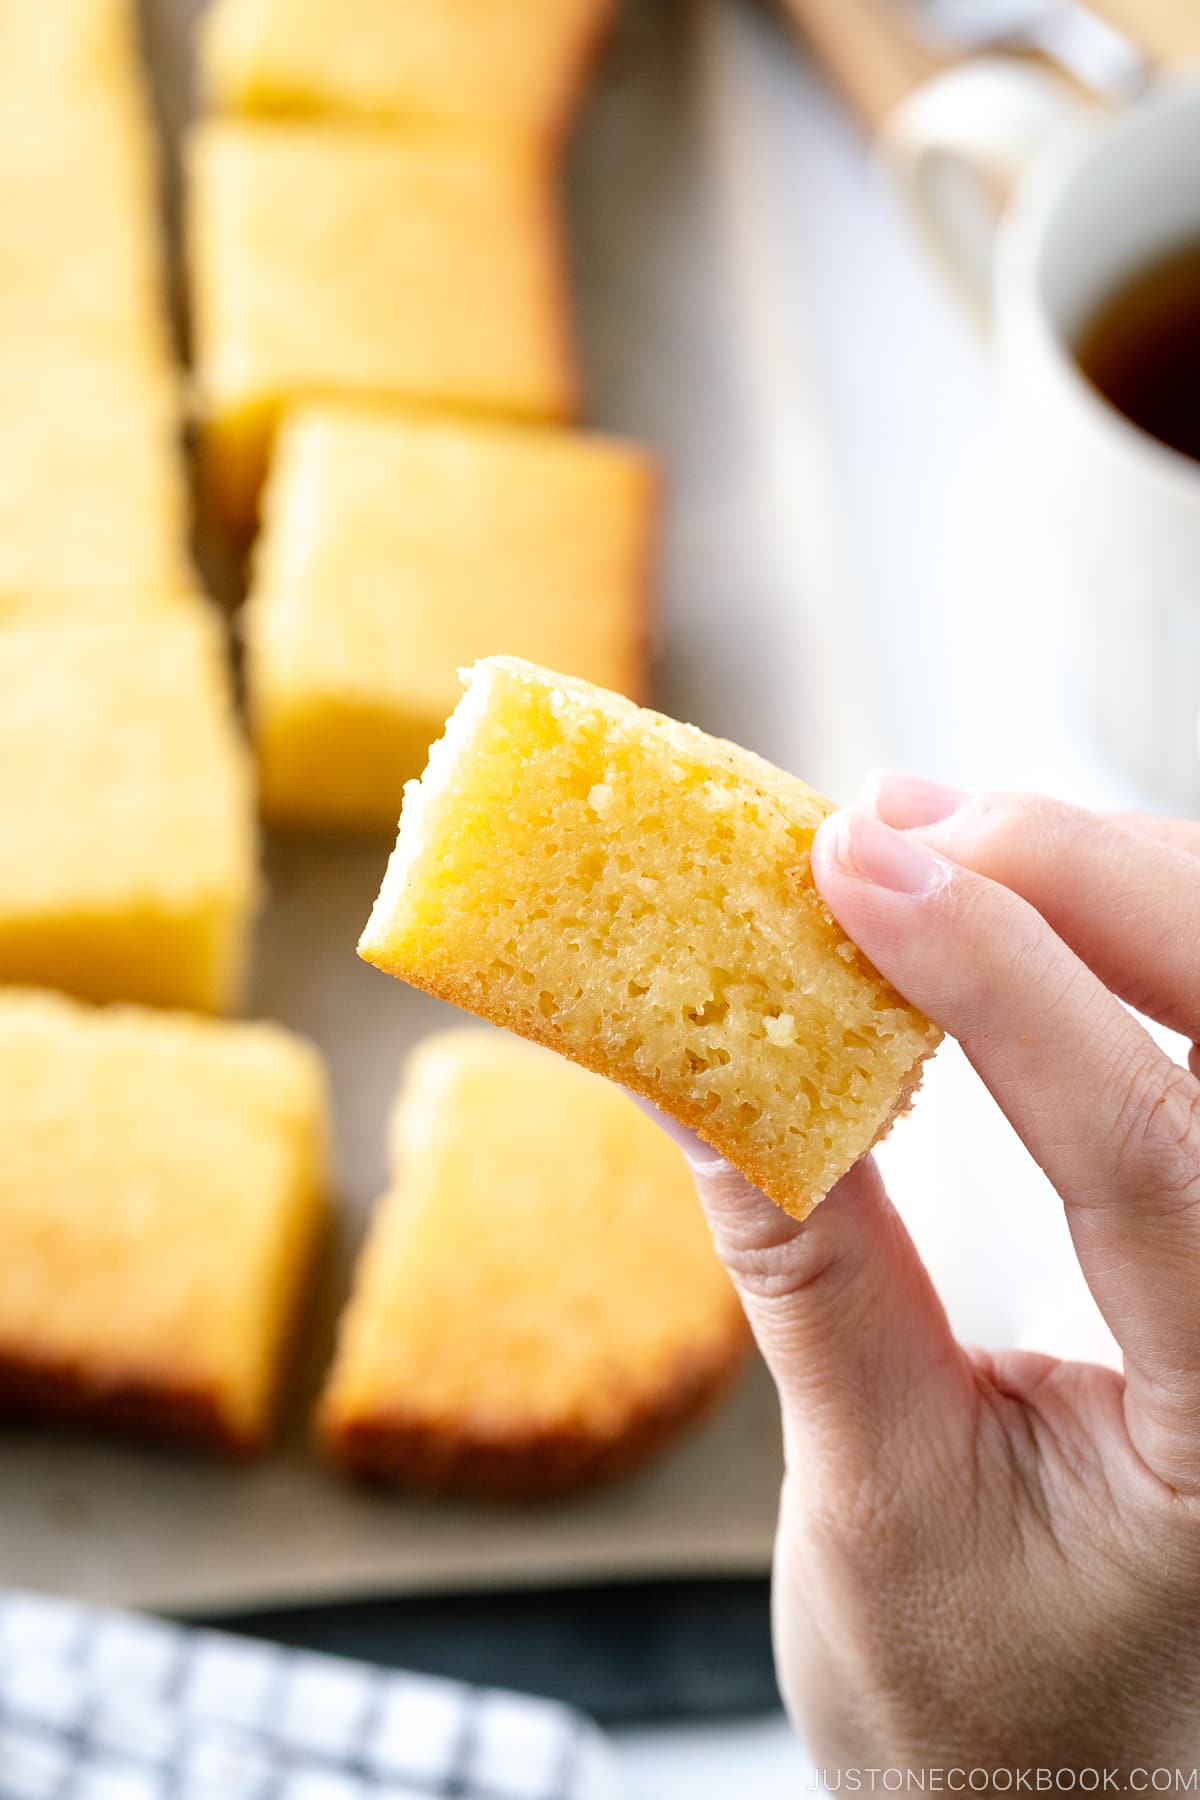
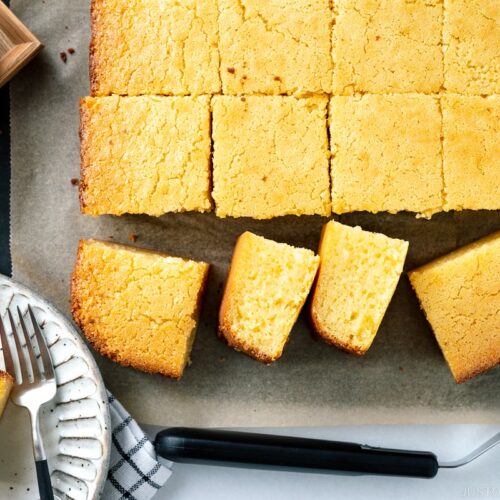
Crisp caramelized edges, chewy and gooey in the middle with fragrant coconut flavor, butter mochi is one of the most popular desserts in Hawaii. It’s a sort of hybrid dessert combining Japanese mochi with local coconut cake.
My family has enjoyed our fair share of butter mochi—from Shueido, a Japanese confectionery store in San Jose, to souvenirs from Hawaii to Naomi’s homemade one (she’s a JOC team member). Today I’m sharing our family’s favorite version. It’s rich but not too sweet with subtle hints of vanilla, butter, and coconut. The interior is wonderfully chewy and the crust is addictively crispy.
If you love a sweet treat and all things mochi, you have to make this!
What is Butter Mochi?
Butter mochi is a favorite local Hawaiian sweet made of butter, mochiko flour, coconut milk and some kind of other milk (evaporated or whole milk). It’s pretty much a coconut custard glutinous rice cake that is chewy and slightly sticky on the inside and crispy on the outside. Baked in a pan and cut into squares, butter mochi may look plain but it’s a true staple dessert in Hawaii. The locals would serve it at potlucks, parties, or any gatherings.
Like many things in Hawaii, it can be difficult to trace the exact origins of butter mochi, but it is certainly a result of many layers of cultural influences. Some claim that it is based on a bibingka, a Filipino coconut rice cake, and another popular Hawaiian sweet, chichi dango (乳団子), which was originally from Hiroshima.
Butter mochi started getting more popular even outside of Hawaii, and now you can find a pre-mix box version at Trader Joe’s in the US. It’s a simple dessert but that’s the allure of it.
The Recipe Inspiration
Since butter mochi is not something I grew up eating, I had to do a bit of tinkering to achieve the perfect one that gets the final votes from my family. I started by researching online and creating a spreadsheet to compare everyone’s ingredients, just like how I did with my Furikake Chex Mix.
Soon I realized that all the top ten recipes have the same ingredients with a slight difference in amount, so it was all about finding the right ratios that suit our taste. I think my kids loved this recipe testing stage more than any other tests I’ve done. After I’ve done 8 different trials in total, we all agree this final version was the best. Luckily, my neighbors enjoyed the multiple butter mochi drop-offs.
You’d find that most recipes say it only last for 3 days, but I’ve also tested freezing my butter mochi and it tastes just as amazing after defrosting and microwaving to warm it up a little.
Just like any other home cooking, it’s really up to you how you and your family enjoy it. Experiment with what you like, and use the recipe I share today as a base and adjust from there.
How to Make Butter Mochi
Ingredients You’ll Need
- Unsalted butter
- Mochiko (glutinous rice flour) – I’ll talk more about this ingredient below.
- Baking powder
- Salt
- Eggs
- Sugar
- Unsweetened coconut milk
- Evaporated milk
- Vanilla extract
As you see above, ingredients for this recipe are all pantry-friendly. If you have butter and eggs, you can make this any time! If you have an unexpected guest over, butter mochi is a great dessert to make, especially when you serve it warm.
Overview: Cooking Steps
- Preheat the oven, grease the baking pan, and melt the butter in the microwave.
- Mix all the ingredients (I used my stand mixer, but you can hand-whisk).
- Pour the batter into the baking pan.
- Bake at 375ºF for 45 minutes.
- Let cool slightly, cut into pieces, and enjoy!
What is Mochiko?
Mochiko (餅粉, もちこ) is a fine white gluten-free flour made of glutinous/sweet rice. It’s an ingredient in wagashi (Japanese traditional sweets), such as daifuku mochi, yatsuhashi, senbei rice crackers, and dango.
It’s also used in Korean desserts, Filipino bibingka-style confections, and some Chinese dim sum dumplings. In Hawaiian cuisine, it’s used as a coating for mochiko chicken, butter mochi, chi-chi-dango, and cakes.
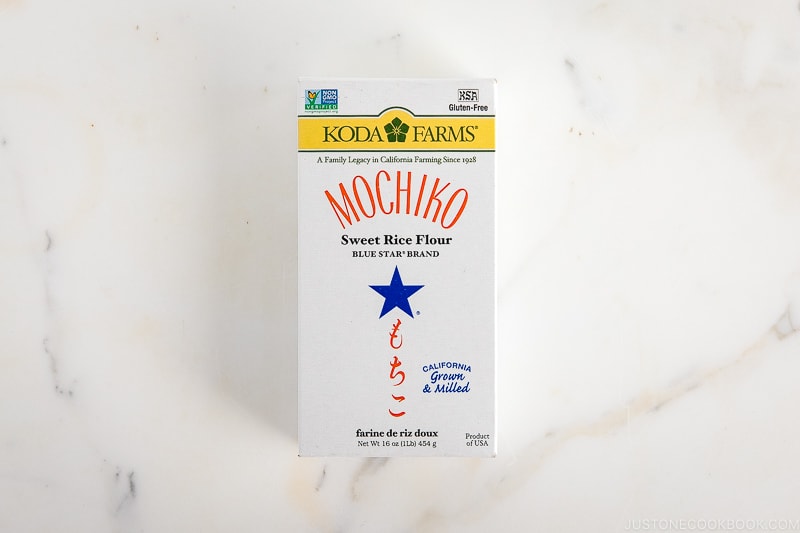
Mochiko from Koda Farms is most well-known product in the U.S. and can be found in Japanese, Asian, and well-stocked American grocery stores.
Butter Mochi Tips
- Thoroughly grease the baking pan. This will help to achieve clean-cut pieces when you slice the cake. I love the buttery crispy crust (they are all mine!) so I take it seriously. If the butter wrapping has some residual butter, use it to grease the pan. You can also use the leftover in the bowl/measuring cup after melting the butter for greasing. No waste!
- Mix until no lumps! No need to worry about overmixing! Since mochiko (glutinous rice flour) is not wheat flour, we don’t have to worry about overmixing this batter.
- For crispy edges and a chewy center, bake at 375ºF (190ºC) for 45 minutes. I should mention that every oven is different (size, gas/electric, etc), so you may want to test and adjust. A lot of recipes online suggest baking at 350ºF (177ºC) while only a few suggest 375ºF. I personally like to bake mine at 375ºF for 45 minutes for crispy edges and a chewy center. Make sure an inserted skewer comes out clean.
FAQs
Can I make this recipe in two 8×8-inch baking pans?
Yes, you can either use two 8×8-inch baking pans or cut the recipe ingredients in half to make one 8×8-inch baking pan.
How can I make a small portion?
I know you’d ask because I used to think the same!
I used to make one 8×8-inch pan. Then, I realized that I preferred to empty out the entire box of mochiko and two cans (coconut and evaporated milk) instead of keeping the half. I don’t use these ingredients for other recipes. If you do, please feel free to make half portion!
So for those of you who feel this portion is too much, may I suggest:
- Give half of freshly baked butter mochi to neighbors, friends, and family. They will love you and wait for your next delivery of butter mochi!
- Enjoy the quarter for yourself and family (next 3 days).
- Freeze the rest when the butter mochi is completely cooled. See below.
Can I freeze the butter mochi?
Yes, I highly recommend freezing on day 1 (don’t wait till day 3) while the butter mochi is fresh!
Wrap each piece in plastic to avoid freezer burn, drying, and sticking. Then, place them in a freezer bag or airtight container and freeze them for up to 1 month (for better taste) to 2 months (I think it still tastes ok).
Thaw overnight in the refrigerator or at room temperature. Microwave for 5-10 seconds before serving.
I miss eating butter mochi once in a while. It’s really nice to be able to enjoy a few pieces with my afternoon tea!
Can I use other types of milk instead of evaporated milk?
Yes! As I explained in my post earlier, many recipes online use whole or reduced milk to make butter mochi instead of evaporated milk. Evaporated milk makes the batter creamier and thicker than regular whole milk. We don’t keep whole milk in my house so I like using evaporated milk for this recipe as I can keep one can of both evaporated milk and coconut milk in my pantry all the time, and when I feel like I want to make butter mochi, I can quickly make it.
Cook’s Notes
I hope you enjoy my Butter Mochi recipe. While I keep mine simple, some people like to add shredded coconut into the batter or on the crust. If you’re from Hawaii and have a family recipe that you’d like to share, please do so in the comment below.
Wish to learn more about Japanese cooking? Sign up for our free newsletter to receive cooking tips & recipe updates! And stay in touch with me on Facebook, Pinterest, YouTube, and Instagram.
Butter Mochi
Bring home a taste of Hawaii with this oh-so-delicious Butter Mochi! Made with coconut milk and mochiko (glutinous rice flour), this classic Hawaiian sweet treat will have everyone drooling. You’ll love the chewy, buttery texture and tropical flavor of this dessert that’s part Japanese mochi and part local coconut cake. It’s so simple to make and perfect for your next potluck party or family get-together.
Ingredients
Instructions
To Make the Batter
-
In a medium bowl, combine the mochiko, baking powder, and salt and whisk to combine. It’s important to equally distribute the baking powder and salt into the mochiko flour. Set it aside.
-
In a stand mixer bowl or a large bowl, crack the eggs and add the sugar. Tip: You will stir the batter at low speed (Speed 2 on the stand mixer), so you can use a hand whisk, electric hand mixer, or stand mixer for this job.
-
Whisk at low speed (by hand or on mixer Speed 2) the eggs and sugar together until creamy.
-
Add the unsweetened coconut milk and stir to combine.
-
Add the evaporated milk and stir to combine.
-
Add the vanilla extract and mix. Then, slowly add the melted butter to the mixture while mixing.
-
Whisk well to combine everything.
-
Next, add the dry ingredients all at once to the mixing bowl and whisk to incorporate everything.
-
Stop mixing and scrape down the sides and bottom of the bowl with a silicone spatula to make sure there are no lumps. Then, start mixing again until the batter is homogeneous and smooth.
To Bake
-
Pour the batter into the center of the prepared pan. Using the silicone spatula, draw a zigzag around the center of the pan to smooth out the batter. Tap the pan on the counter a couple of times to bring any air bubbles to the surface. Tip: If you don’t smooth out the batter, the finished butter mochi may have a ripple mark or air bubbles on the surface.
-
Bake at 375ºF (190ºC) for 45 minutes, or until an inserted skewer comes out clean. The mochi should be set and golden brown on top.
-
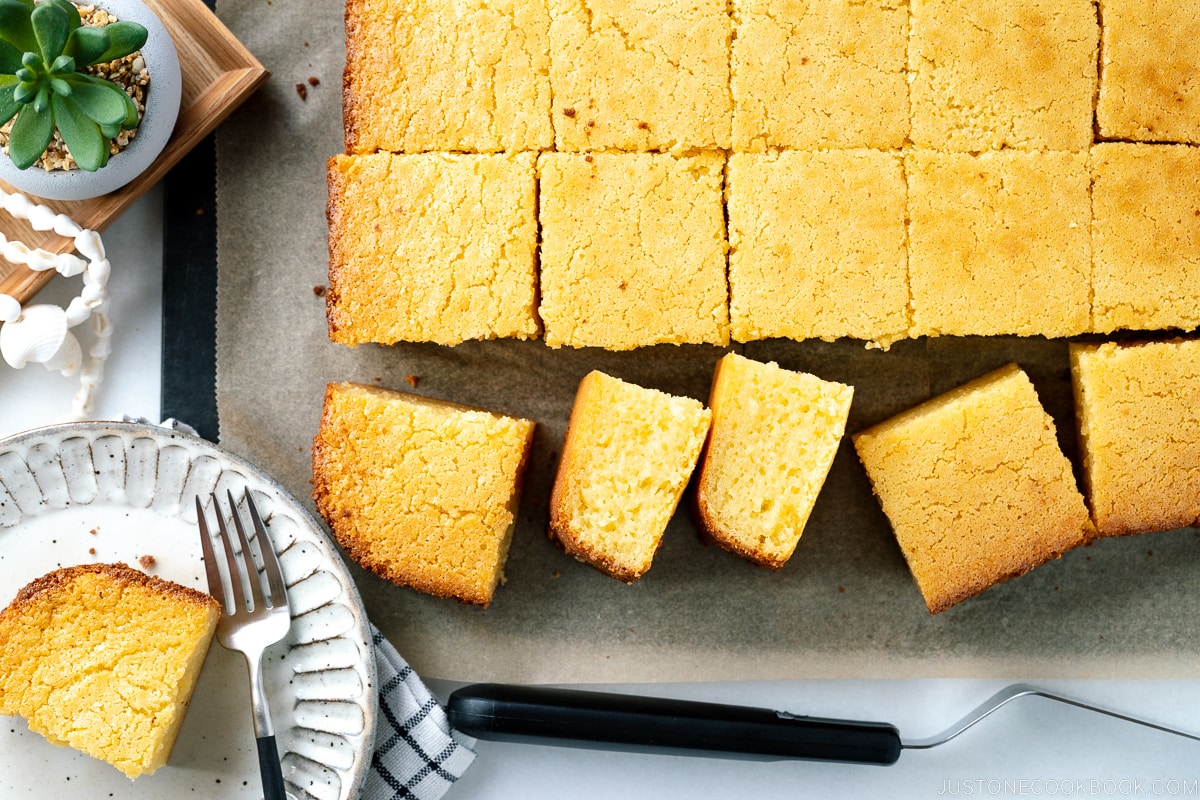
Set the baking pan on a wire rack and let the butter mochi cool. You can either slice it into clean-cut pieces or serve it directly from the baking pan. To serve from the pan, leave it to cool completely on the wire rack for about 1 hour before slicing and serving. To slice clean pieces, let the mochi cake cool for 30 minutes. Remove it from the pan while it’s still warm by running an offset spatula or butter knife along the edges to release it.
-
Then, invert the butter mochi cake onto a tray or cookie sheet lined with parchment paper.
-
Next, flip the butter mochi right side up: Place another sheet of parchment paper on top of the cake, followed by a cutting board. Then, hold the cookie sheet and the cutting board together, with the butter mochi sandwiched in between, and flip it over onto the cutting board. Remove the cookie sheet and parchment paper and save it for wrapping the butter mochi later.
To Serve
-
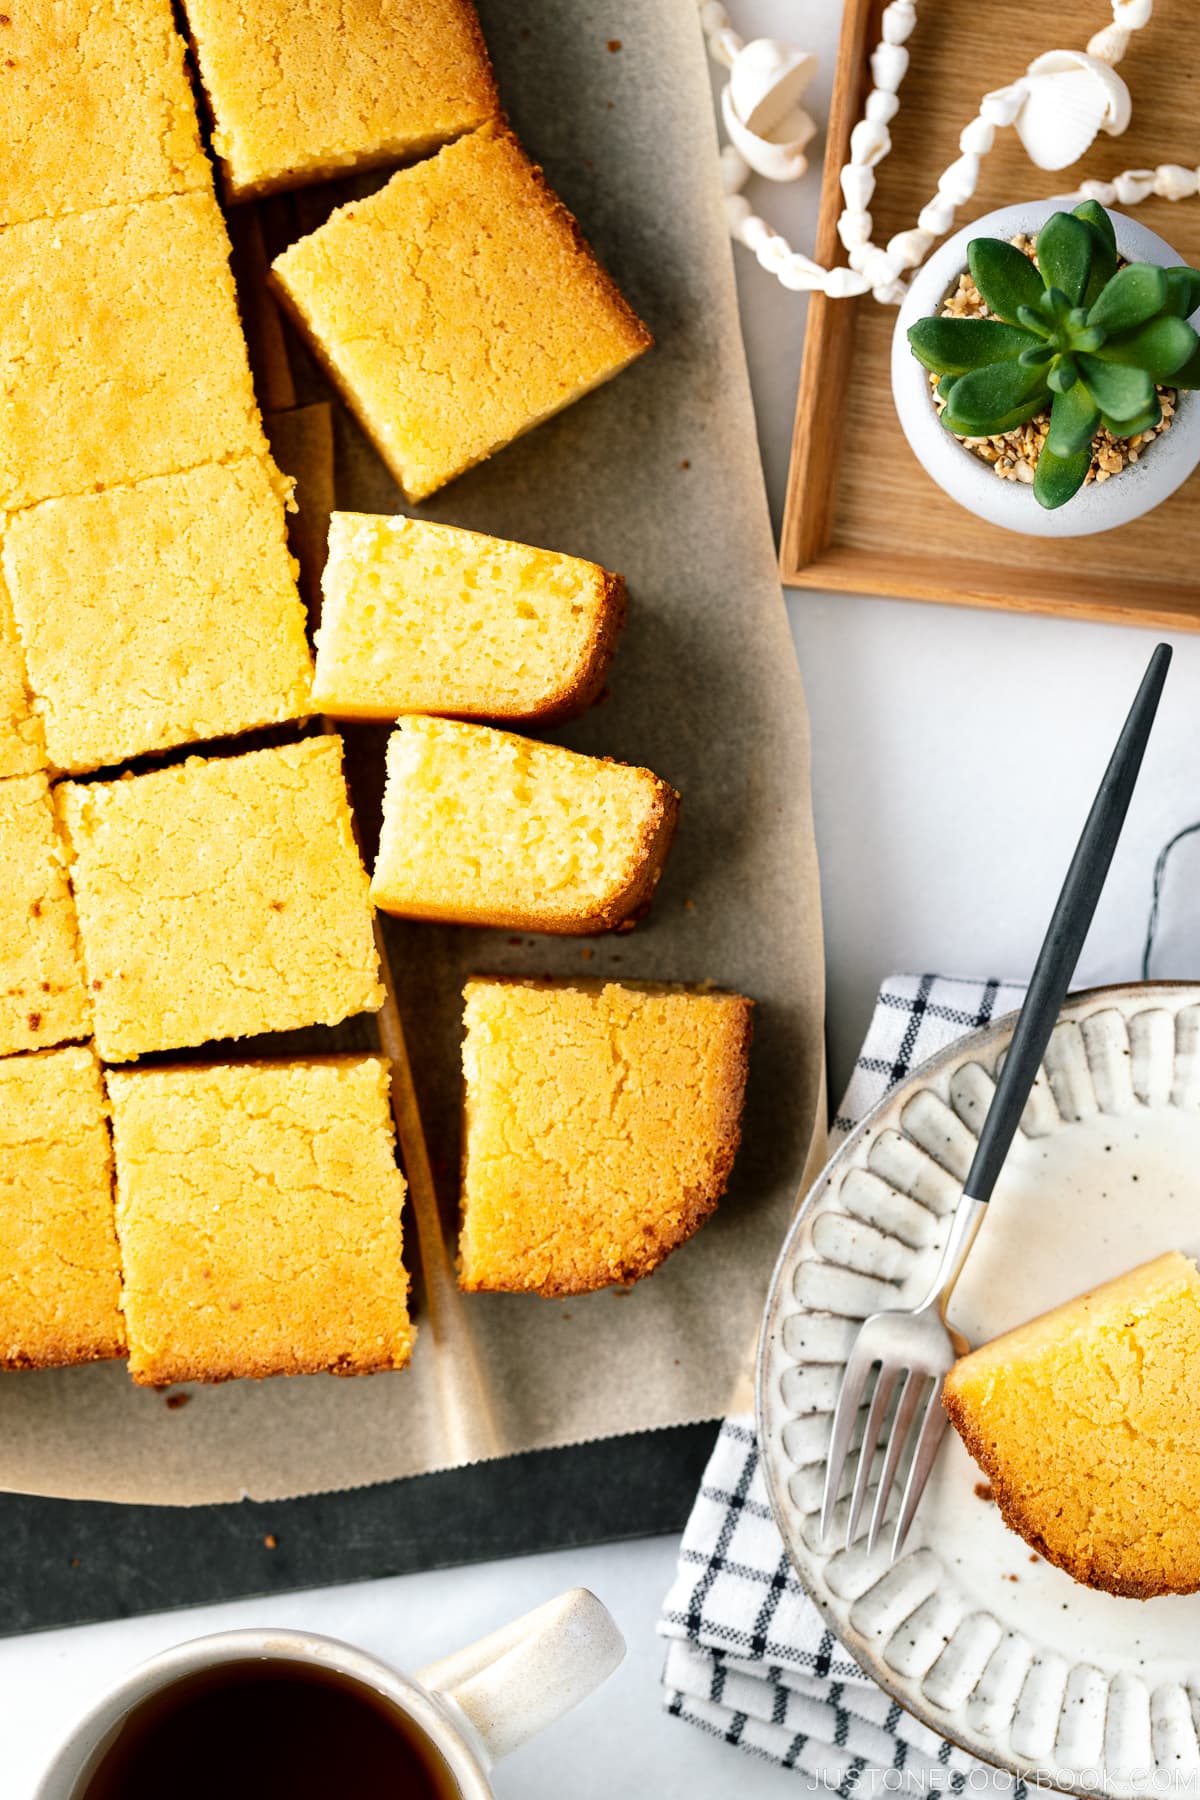
Slice the mochi cake into small pieces. I cut 6 columns and 4 rows to make 24 pieces that are about 2 x 2 inches (5 x 5 cm). I read that a plastic knife won’t stick to the butter mochi, but I don’t have one, so I just rinsed my knife once halfway through slicing.
-
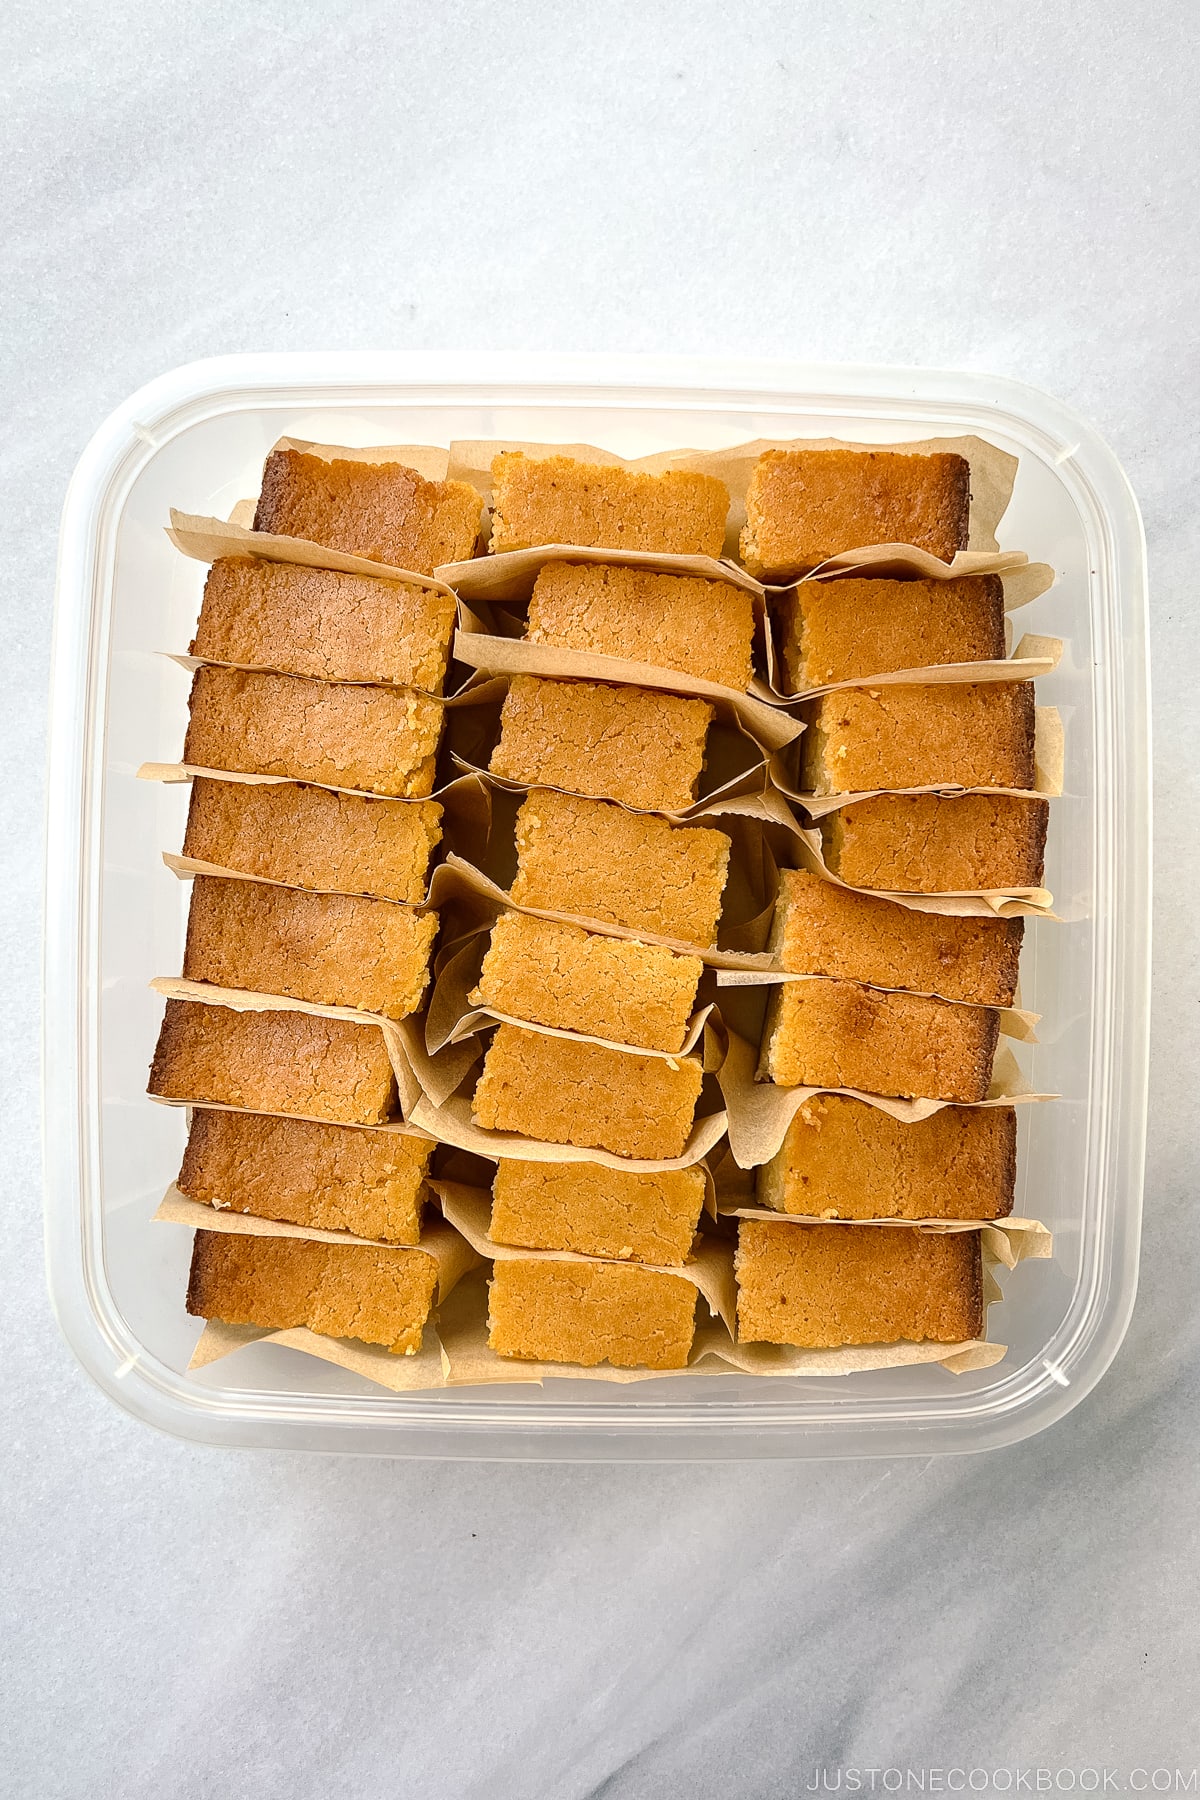
I usually cut the 2 x 2-inch pieces in half because it’s easier to eat. To keep them from sticking to each other, I separate each piece on the bottom and sides with small squares of parchment paper that I cut using the two sheets I repurposed from flipping over the butter mochi cake.
-
Enjoy the butter mochi at room temperature. I personally like mine slightly warm, so I microwave it for 5-10 seconds before eating.
To Store
-
Keep the butter mochi in an airtight container and store it at room temperature for up to 3 days. If you’d like to keep it longer, wrap each piece (or the portion you will serve at one time) in plastic wrap to avoid freezer burn and drying out. Then, place them in a freezer bag or airtight container and freeze for up to 1 month. Thaw overnight in the refrigerator or at room temperature before serving. Serve at room temperature or heat in a microwave for 5-10 seconds, if you’d like.
Nutrition
Calories: 225 kcal · Carbohydrates: 34 g · Protein: 3 g · Fat: 9 g · Saturated Fat: 7 g · Polyunsaturated Fat: 0.3 g · Monounsaturated Fat: 2 g · Trans Fat: 0.2 g · Cholesterol: 17 mg · Sodium: 69 mg · Potassium: 102 mg · Fiber: 1 g · Sugar: 19 g · Vitamin A: 157 IU · Vitamin C: 1 mg · Calcium: 58 mg · Iron: 0.4 mg
")


